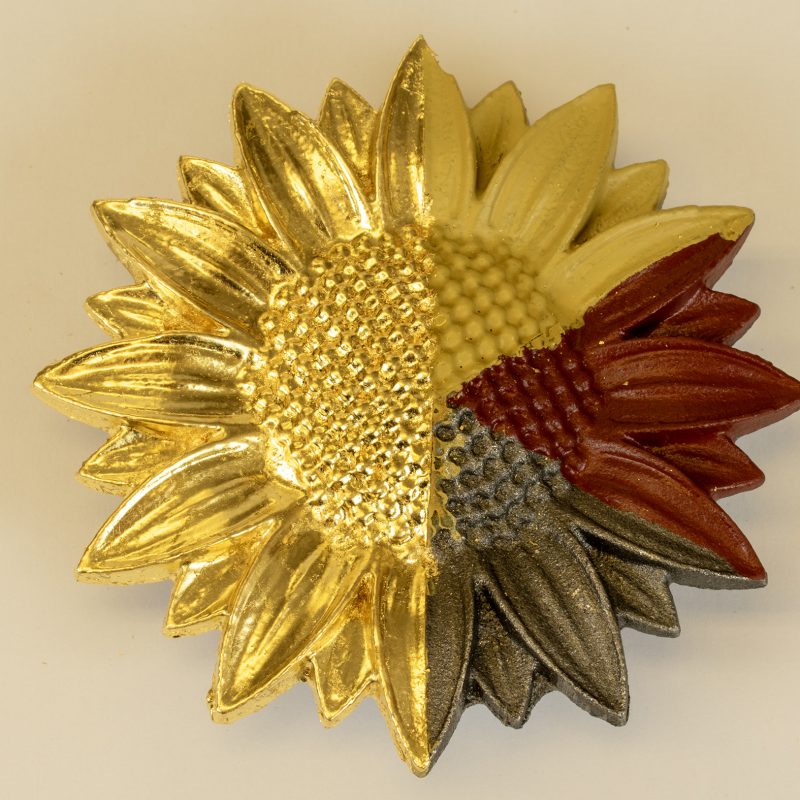
Modern Masters Metal Effects Decorative System is perfect for creating a realistic, weathered metallic effect on practically any object or surface. The Metal Effects Reactive Metal Paints are formulated with real metal particles that will oxidise naturally over time and can be treated with Metal Effects Patinas to created an aged, tarnished finish instantly.
Step 1. Prepare The Surface
Ensure the surface of the item being painted is sound, clean and dry, with no loose or peeling paint. Some metal surfaces such as bare aluminium, galvanised iron or rough metals will need a 100% acrylic metal primer or an anti-corrosive primer applied before the application of the Metal Effect Primer.


Step 2. Prime The Surface
Stir the Metal Effects Primer well before use and occasionally during application; do not thin. Apply at least two coats of Primer to the substrate. You can apply the primer by brush, by rollers appropriate for water-based primers, by spray gun or by quality airless spray equipment. If you are using a brush on smaller items, we recommend the Ox Hair Size and Lacquer brushes.
Recoat time for the Primer is approximately thirty minutes and the drying time is approximately twelve hours. We recommend leaving your items overnight after priming before applying the Metal Effects Reactive Paint, as the Primer must be completely dry before application.
Primers other than the Metal Effects Primer cannot be used. Metal Effects Primer has been formulated to handle the Aging Solutions in the Metal Effects line. When you use a regular primer/sealer under Metal Effects, you risk the finish being pushed off, the substrate reacting, or an undesirable finish colour.
Brushes as well as other tools and equipment can be cleaned with warm, soapy water.
Step 3. Apply Metal Effects Reactive Paint
The Metal Effects Reactive Copper Paint can be applied using a brush, a roller or a spray gun with a compressor. Recoat time for Metal Effects Reactive Paint is approximately thirty minutes with a total drying time of approximately one hour, though this can vary depending on temperature. You need to apply two coats; one base coat, which should be allowed to dry fully, and a second coat for the Patina Solution to react with as the Solution will only work on the Copper Paint while it is still wet.
When using our Metal Effects Reactive Paint and Patina/Activators you will want to remember two key tips. The first is you want to keep your paint coats as uniform as possible. If you have a heavier coat in one area and a thinner coat in another you will see a difference in your patina color after it has been activated. The second is depending on when an area was painted and activated can also have an affect on the look of your finish. Time of day, time of year and weather can all have an affect on the outcome of your finish. If you are working on several separate pieces and you want them to have a similar look, finish them in as close of a time frame as possible.


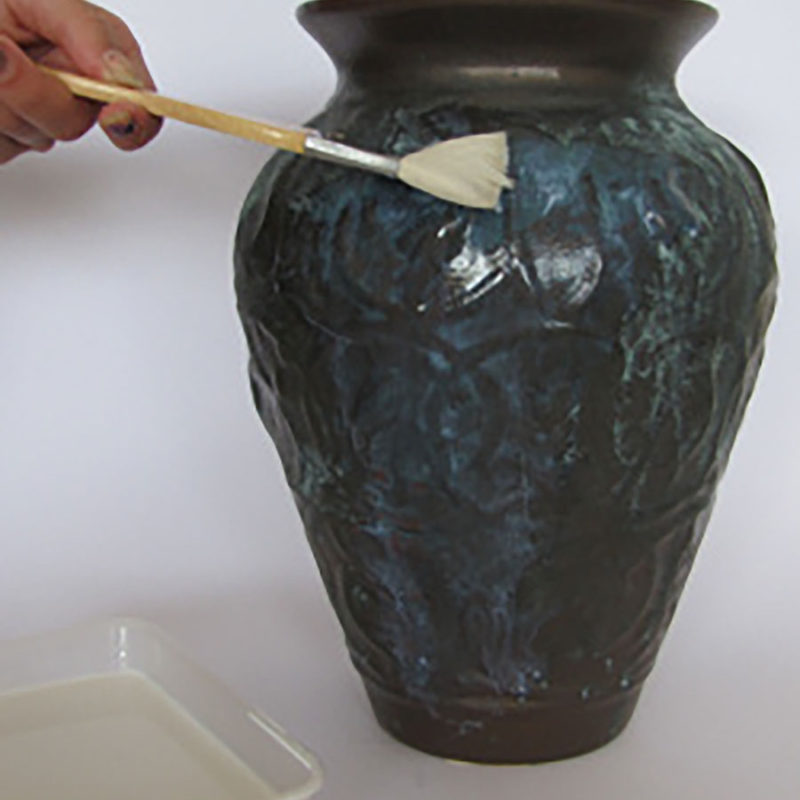
Step 4. Apply Metal Effects Patina Solution
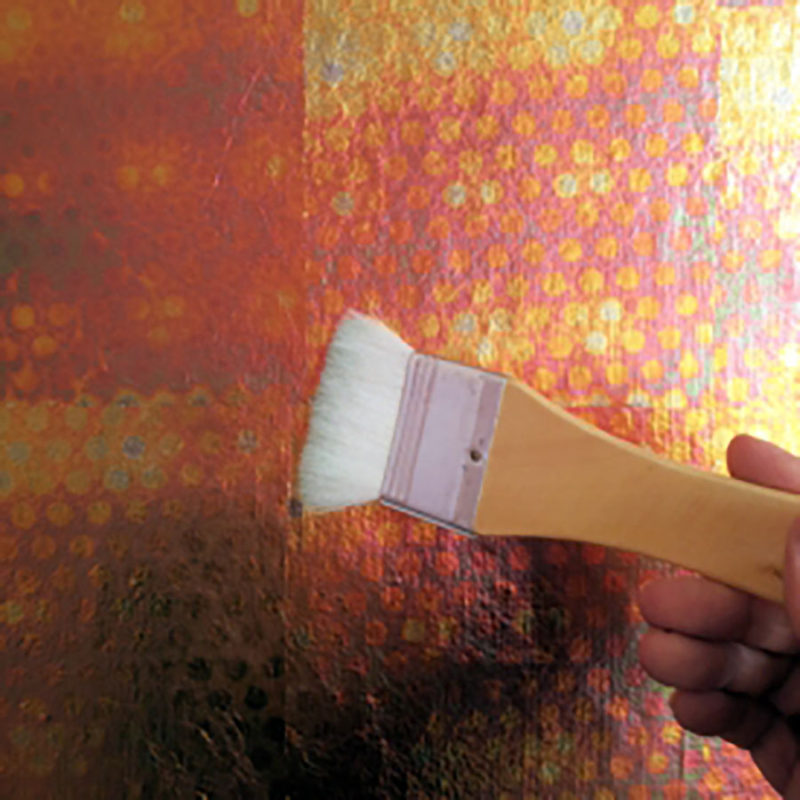
Metal Effects Patina Solution can be applied in a number of ways either by using a brush or a sea sponge; it can also be sprayed directly from the bottle using a spritzer cap. When applying the Patina Solution it is important to remember that it must be applied to wet paint otherwise the solution will not patinate the finish satisfactorily.
For this project I used the spritzer cap to spray the patina directly onto the vase, lightly dabbing the runs with a soft brush and sponge to soften the lines to create a more natural, aged copper effect.
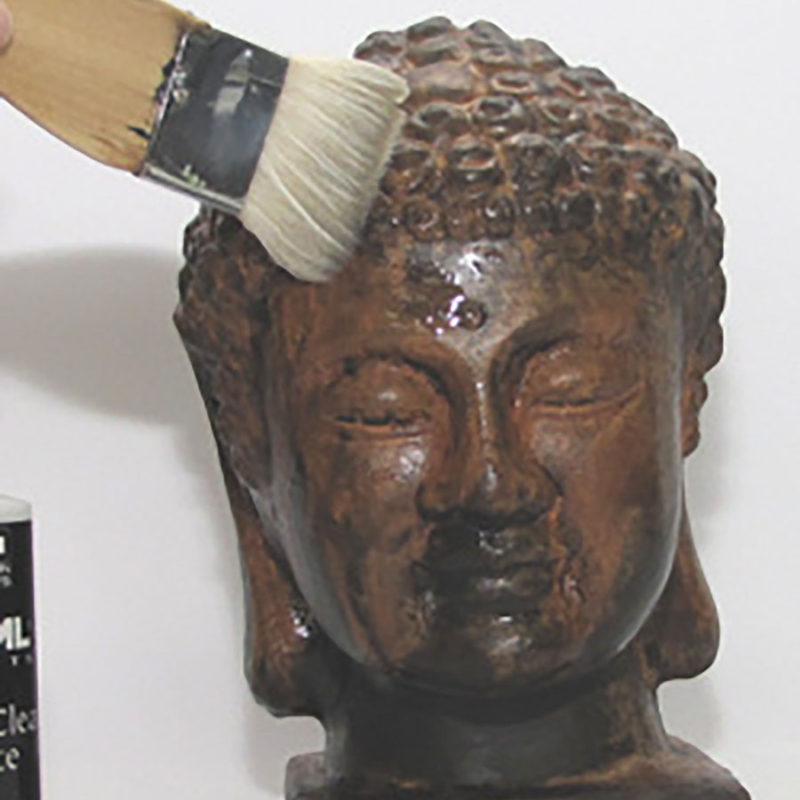
Step 5. Apply Metal Effects Patina Sealer
It is not necessary to seal/topcoat the Bronze Patina or Copper Patina finishes except if the patina surface is subject to repeated hand contact such as handrails. After being treated with the Patina Solution the surface can be left unprotected and it will continue to oxidise further naturally with time, however if you are satisfied with the effect of your finish you can seal the surface in order to halt any further oxidisation.
For the first coat dilute the Permacoat Patina Sealer 1:1 with water before application, stirring the mix thoroughly before and occasionally during use. For application of this product brushes, rollers or spray guns can be used. When rolling, use a short nap roller and roll product on vertically, smoothing out excess with a brush while the Sealer is still wet. A second coat of the Sealer at full strength must then be applied to adequately protect the patinated finish.
For a matte finish and additional protection in high traffic areas on interior/exterior surfaces apply one coat of Modern Masters MasterClear Matte over the patina sealer. Ensure that the surface is dry prior to applying the MasterClear Matte.