At first applying metal leaf to walls or ceilings might seem like a daunting task but this step-by-step guide will walk you through the process and show you just how easy it can be!
Preparation
The surface must be as smooth as possible as the leaf will highlight any marks, dents or scratches underneath it. The wall must be sealed prior to any gold size being applied otherwise the size, the adhesive used to glue the leaf to the walls, will “soak” into any porous surface. Walls can be sealed with a coat of emulsion (sanded for a really smooth surface) or a coat of varnish.
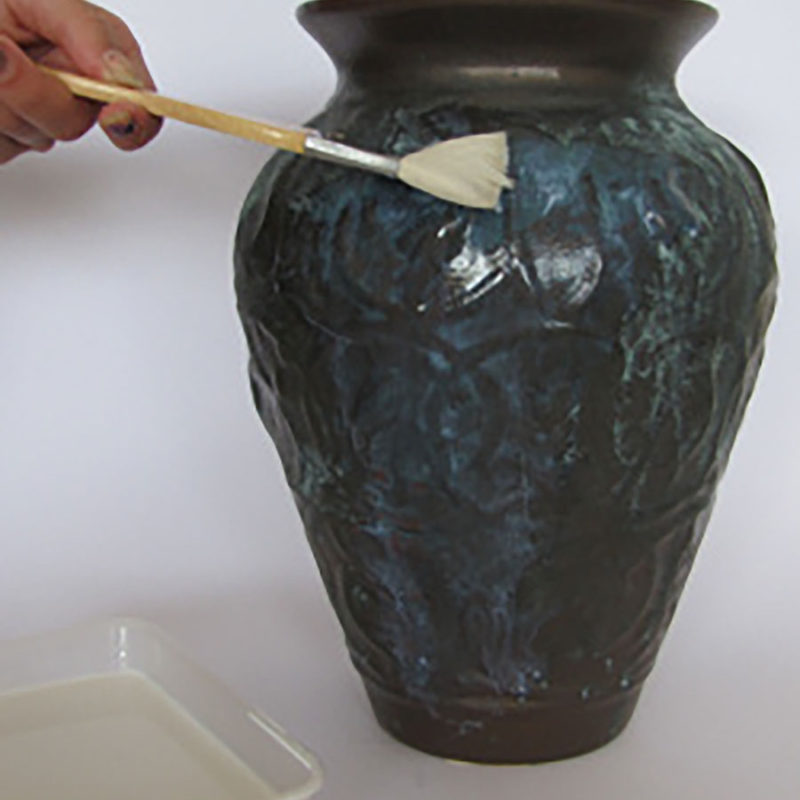
The colour you use beneath the leaf can have an impact on the overall effect. Gold is generally laid over a background colour of red or yellow and silver over a cooler colour of white or grey and sometimes black.
Before applying the size, square or line up your area so that the leaf is laid in a regular pattern. It is a good idea to make the squares slightly smaller than the size of the leaf so that you can overlap the leaf to prevent any gaps in the finished surface. You can use a chalk line and leveller for this. Use a steel rule and pencil over the chalk line to give a more defined line, as the chalk line will brush off when you apply the size.


Application of Adhesive Size
Size is the adhesive used to stick the metal leaf to the walls; we recommend using a water-based acrylic size such as Wundasize due to its ease of use and clean up, if you are familiar with oil-based sizes they can also be used. Apply the size with a small roller or soft brush and while it still wet use a high-quality brush to level and smooth the size evenly over the surface. The size must be allowed to dry and reach ‘tack’ before the leaf is applied, to test if the size is ready to be gilded on gently rap the sized surface with a knuckle, if it feels about as sticky as sellotape then it has reached tack. After the size has reached tack there is a window where it is receptive to being gilded on, this is called the open time, we recommend using acrylic size as they have long open times, allowing for less hurried application of the leaf. When sizing we recommend that you only size the area you intend to gild that day unless you are in a controlled environment otherwise you may find the sized area contaminate by bits of fluff, hair or dust sticking to it.
Applying The Leaf
Once the size is ready apply the metal leaf; metal leaf is available in booklet and roll formats but for leafing large flat surfaces like ceilings and walls we recommend using transfer leaf. If using transfer leaf then press it firmly against the sized surface with the backing paper facing towards you, taking care to overlap the leaves by approximately 2mm to avoid gaps in the finish, then rub over the back of the backing paper with your hand or a soft cloth to ensure contact with the size. Once the leaf is properly adhered peel away the backing paper, taking care not to scratch or tear the leaf.


Touching Up & Burnishing
When you have finished laying leaf on an area, brush off the loose flakes of leaf gently using a soft brush, collecting the flakes in a jar. You can use these flakes or any excess leaf left over to touch up any areas that may have been missed so that there are no gaps. We usually recommend that you leave the leaf for a couple of hours before ‘burnishing’ the surface with a soft gilders mop, use the mop to gently brush the surface to remove any remaining excess leaf and to slightly increase the shine, taking care not to brush too hard and scratch or dull the leaf.
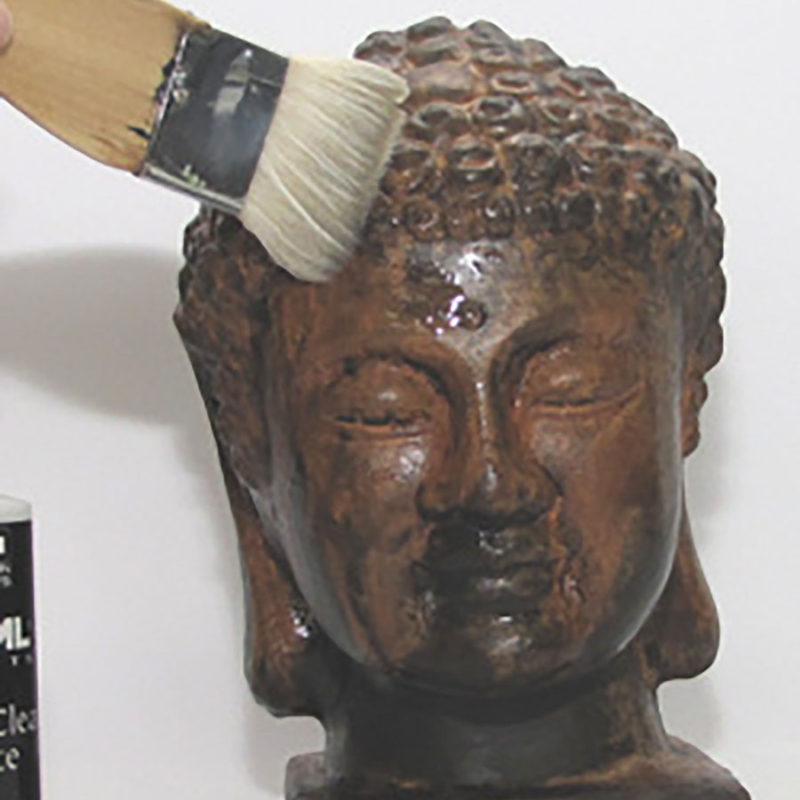
Sealing
We recommend leaving a day or so after laying the leaf for the size underneath to dry before sealing the surface, however Silver and 6ct White Gold should be sealed quite quickly as they are prone to oxidising. Apply a varnish using a short roller or soft varnish brush – Whitson’s Universal Lacquer is perfect for this as it dries to a crystal clear, satin finish that is proven to be non-yellowing over time. Whilst the varnish is still wet, soften and level with a high-quality brush. You can then add colour washes and or distress the surface with steel wool to bring out the base colour and create some toning. This is optional, depending on the effect you are trying to obtain.