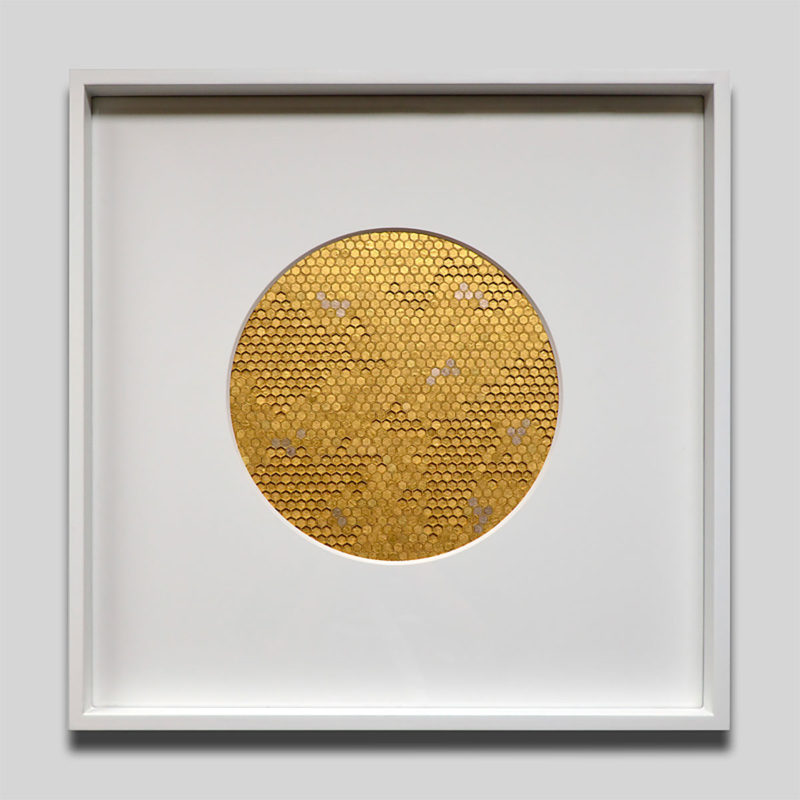
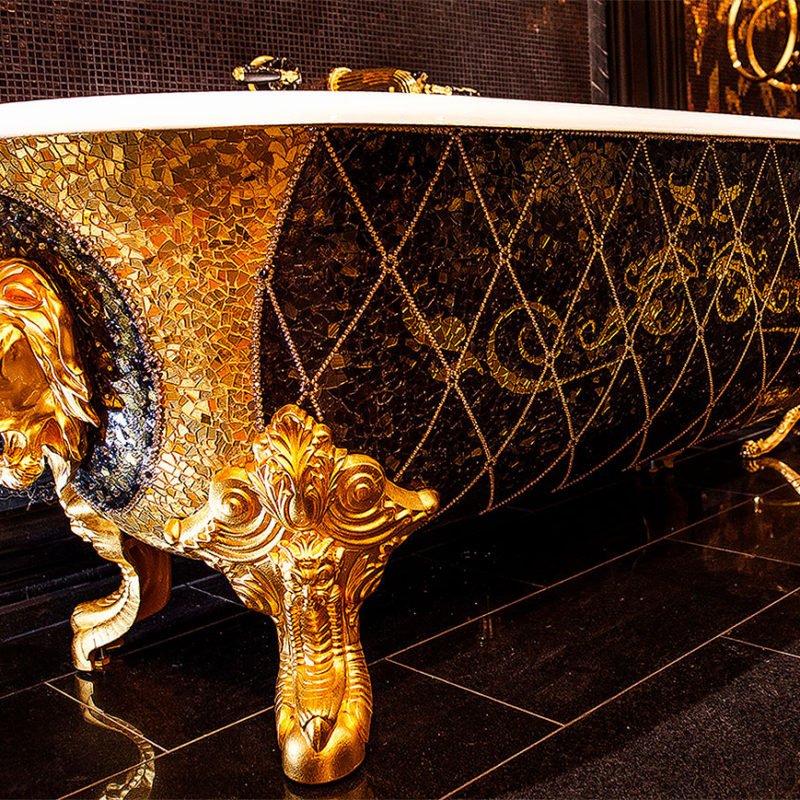
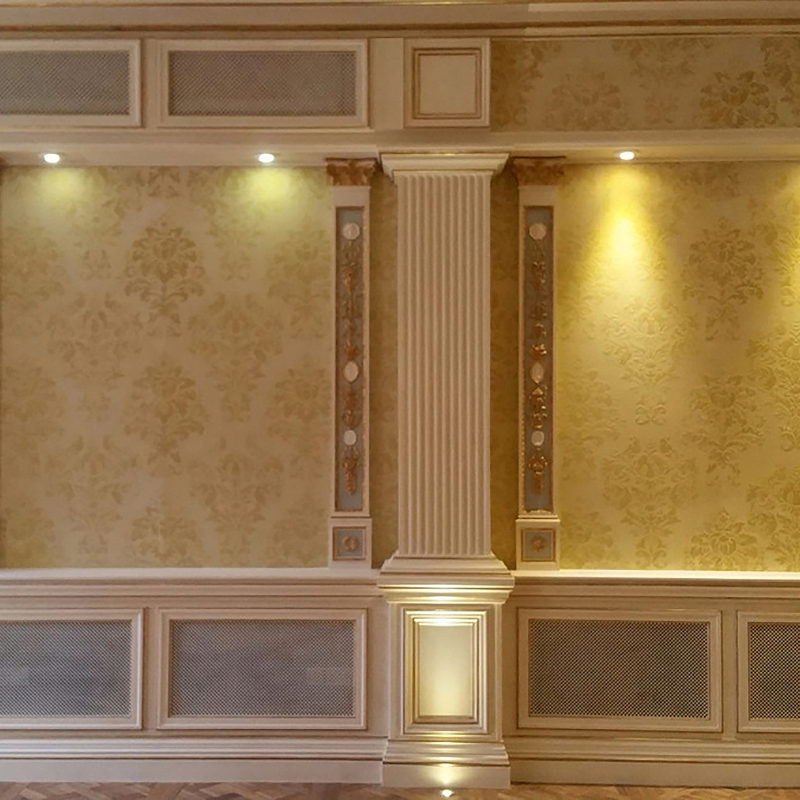
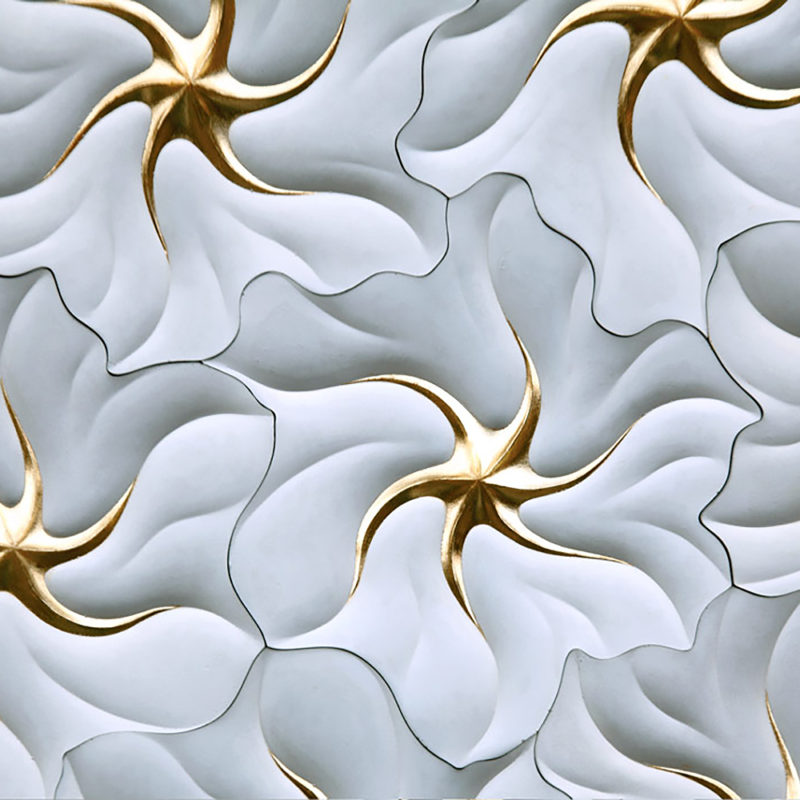
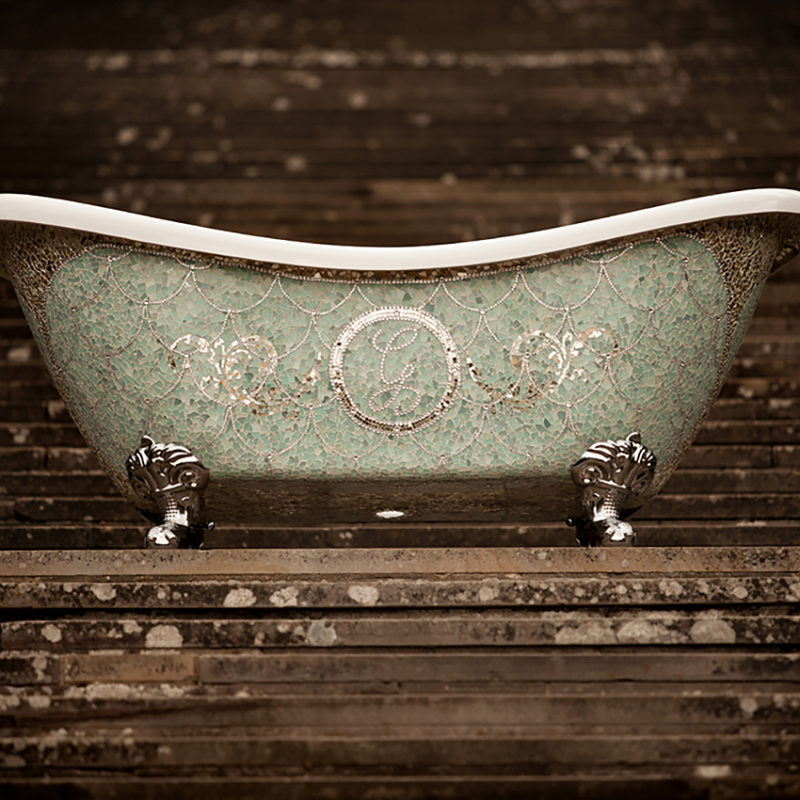
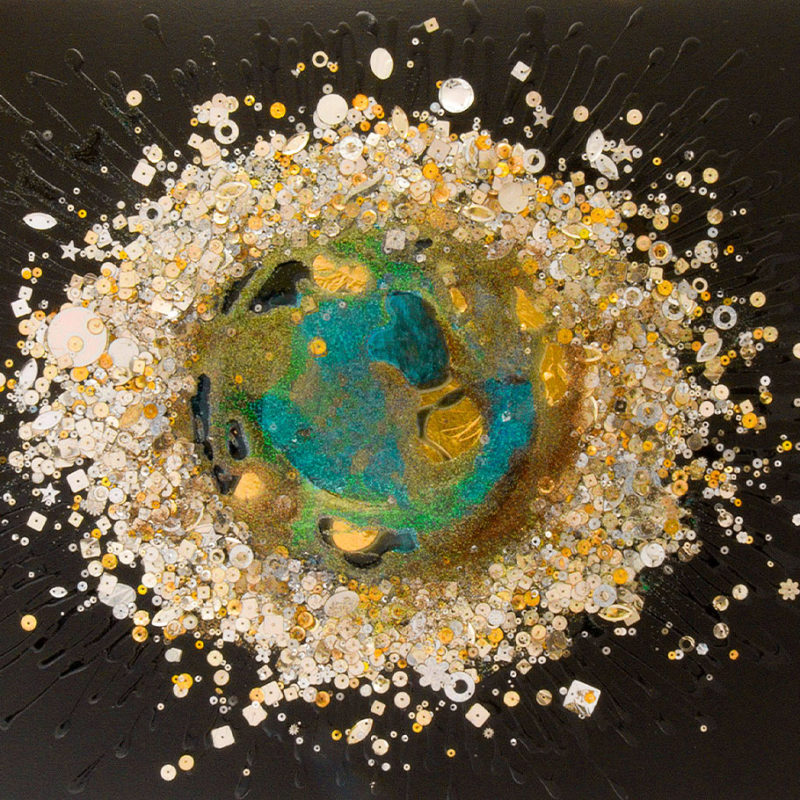
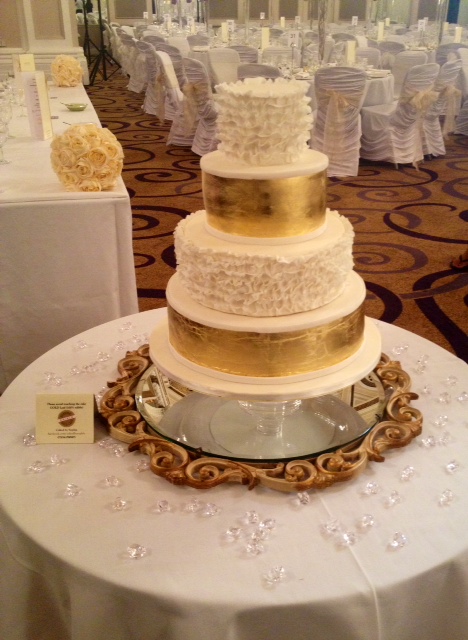
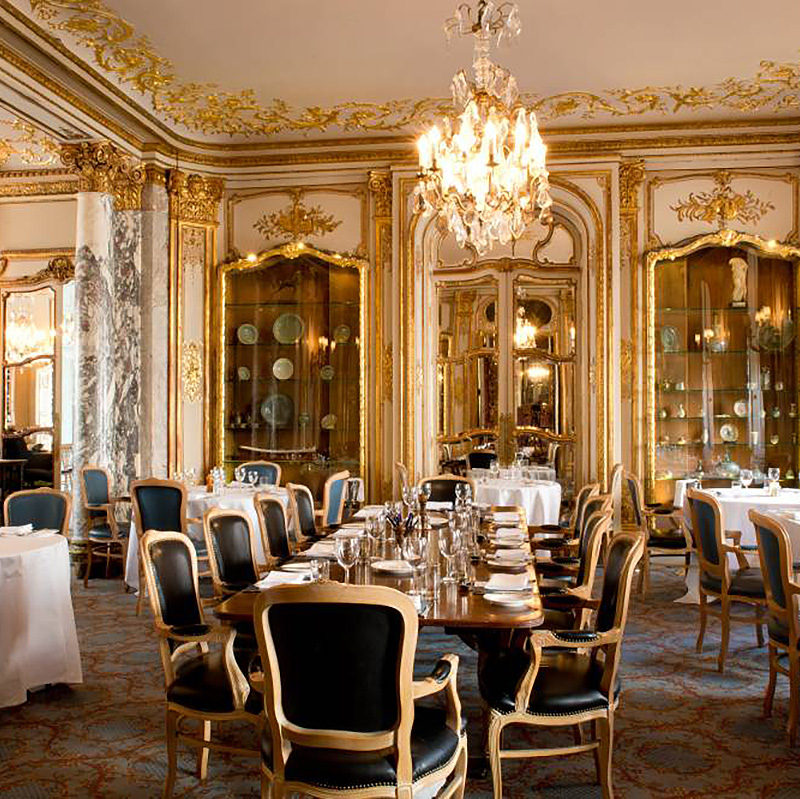
Gilding glass is a timeless technique that transforms ordinary surfaces into dazzling displays of elegance. When you’re working on a decorative interior feature, this art form brings a luminous and reflective quality that’s hard to beat.


If you’re new to gilding on glass, don’t worry! We’re sharing some useful tips and insider knowledge from Cas Pollen, an artist who specialises in applied glass arts workshops and custom decorative finishes.
1. Know Your Glass: Tin Side vs. Air Side
Before you start gilding, it’s crucial to determine which side of the glass you’re working on. Float glass (standard window glass) is produced by floating molten glass over a tin bath. The side in contact with the tin bath, known as the tin side, retains some residual tin and is rougher than the air side. For best results, always apply gold or silver leaf to the air side.
")
How to Identify the Tin Side:
Water Drop Test: Clean the glass thoroughly, then drop a small amount of water from 2-3 cm (1-1.5 inches) above the surface. Observe how the water spreads. Comparing both sides will reveal the tin side – If the water drop spreads out, it’s the non-tin side. If it stays firm, it’s the tin side!
TIP: Using a shortwave UV light, inspect the glass. The tin side will glow, while the air side will not.
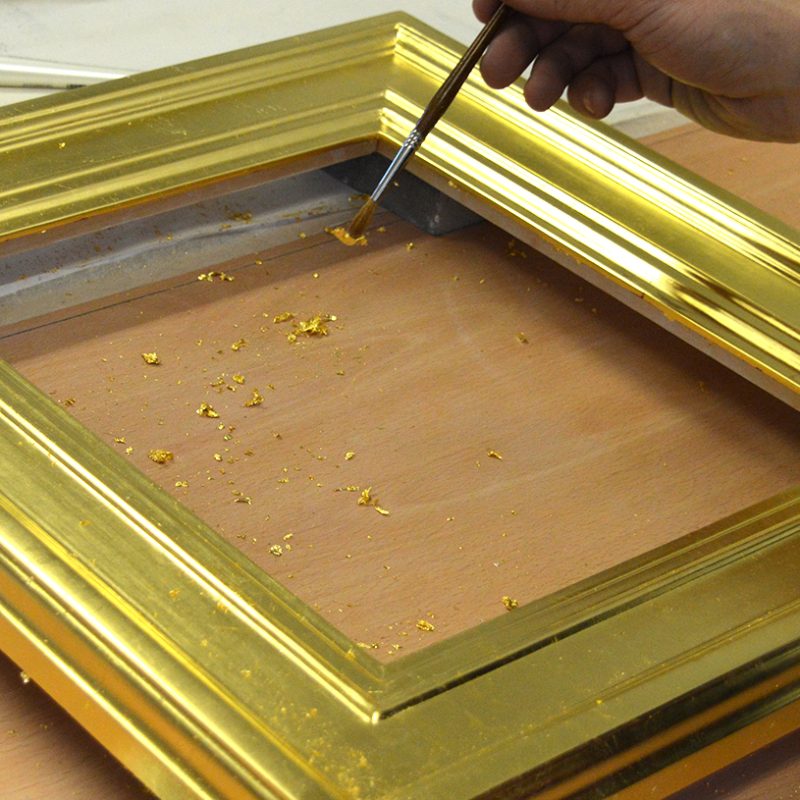
2. A Quick Method for Laying Leaf
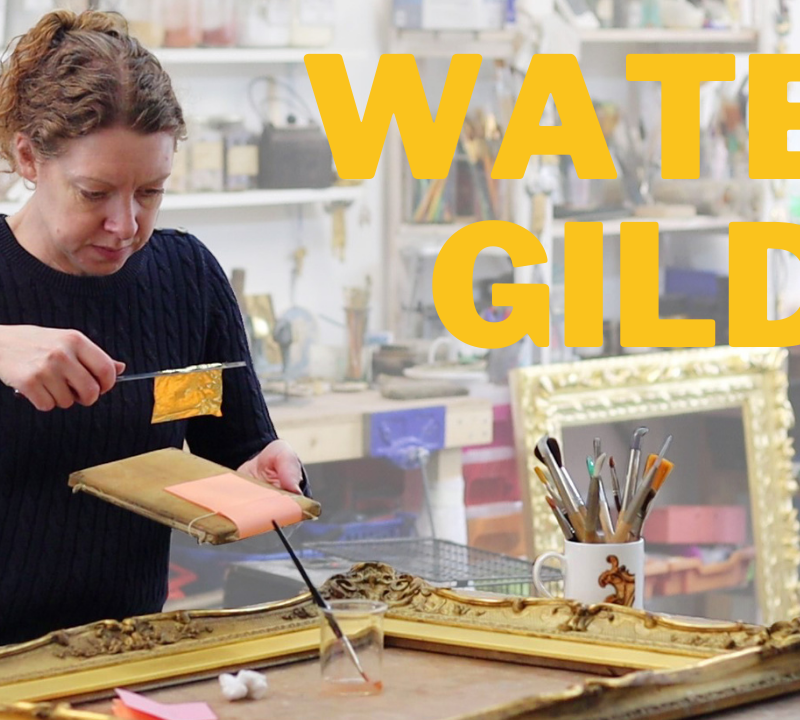
For an efficient and clean application, use a squirrel tip brush to transfer the leaf directly from the book onto the glass.
Why this works: The soft hairs of a squirrel tip brush hold the delicate leaf well and allow for easy and precise placement without tearing or wrinkling. It’s simple to use: Apply a small amount of Vaseline to the back of the hand and lightly brush the tip bristles across this to “charge the brush”. Some gilders flick the tip into their hair to pick up some of the natural oils or even along the side of the face! This all helps the gold to stick to the bristles to be carried over onto the glass.

Gold Leaf Supplies Tip:
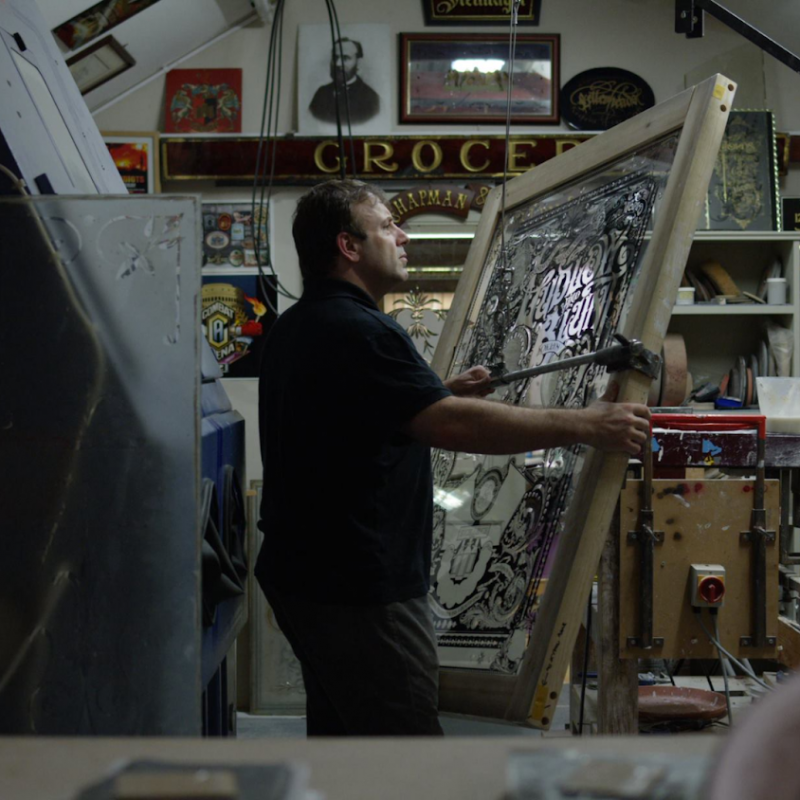
Many of our glass gilding clients also love using the Gilder’s Gold Tip or Thorn Tip as an excellent alternative for gilding on glass, especially in signwriting. The clear mesh supports a full leaf of gold with no tearing and lets you line up each piece perfectly, reducing overlaps and eliminating gaps. This type of tip is also very useful and labour saving if you have to lay large areas of leaf.


3. Vaseline for Your Squirrel Tip Brush
Your squirrel tip brush is an essential tool, and keeping it in top condition is key.
TIP: Avoid clogging the brush with excessive product by ensuring the hairs remain flat and straight. Using a tiny amount of Vaseline can help keep the bristles conditioned and ready for use.
4. Knife Cleaning
A sticky knife can make handling gold or silver leaf frustrating. Prevent this by regularly wiping your knife on the orange separator sheets found in the leaf books.
TIP: Keeping your tools clean ensures that the leaf cuts smoothly and prevents unwanted adhesion that could disrupt your design.

5. Dabbing the Glass with Cotton Wool
TIP: Wait until the water has drained, but the surface is still slightly damp. Then, gently dab the leaf with cotton wool. Turn the cotton wool frequently to avoid lifting the silver leaf off the glass.
6. Gold Leaf Supplies Tip
Once the leaf has completely dried on the glass, burnish the gilded surface with the Gold Father Burnishing Pad achieve a smooth finish on the gild before backing up!

Ready to Start Gilding? We Have Everything You Need!
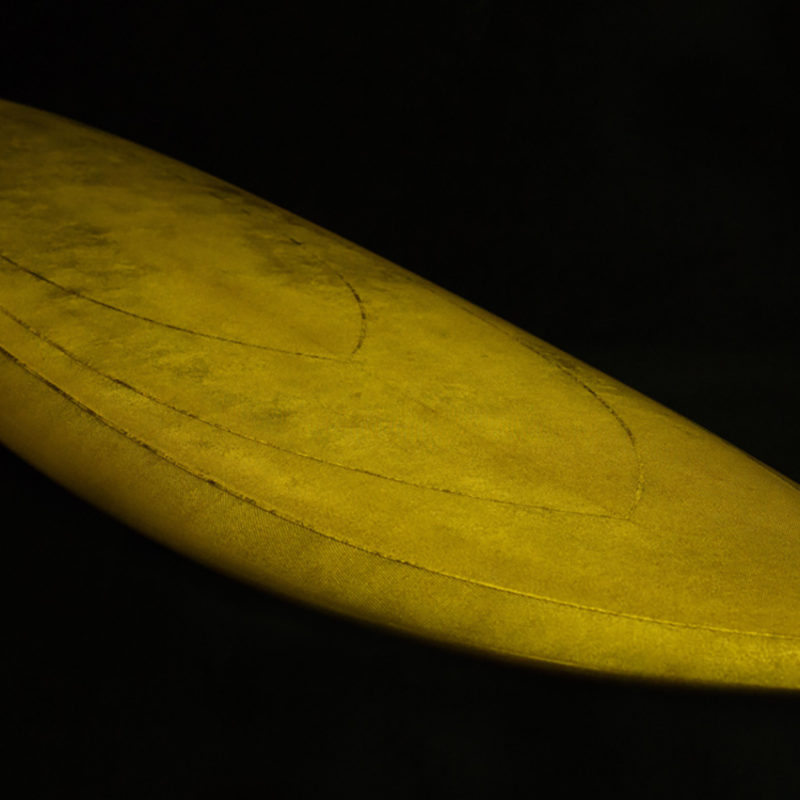
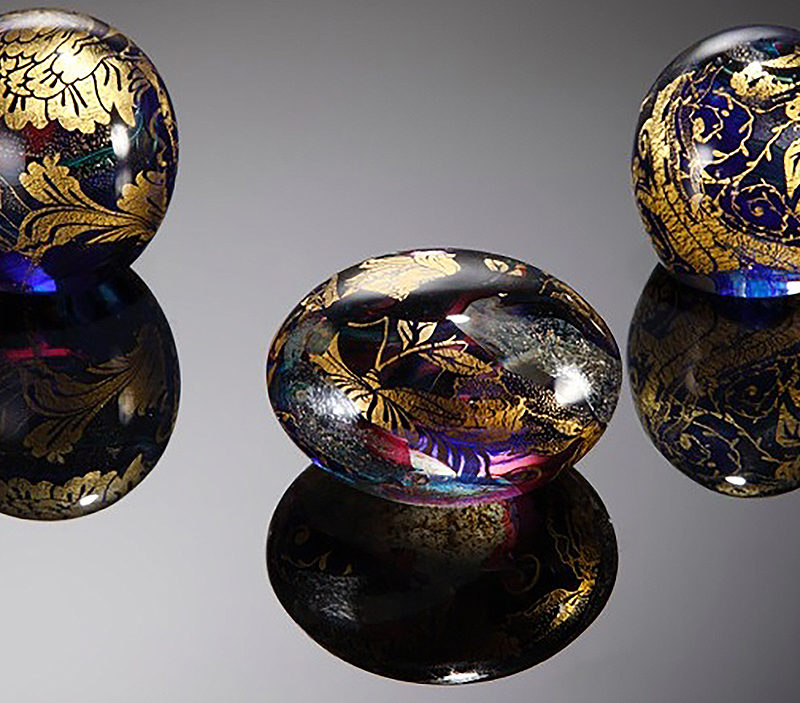
Gilding on glass ( Verre Eglomise) is a beautiful art! These expert tips from Cas Pollen are a great starting point to refine your technique and create beautifully gilded glass pieces.
Are you ready to try it yourself? Visit our online store to find all the supplies you need.
*Disclaimer: This blog post is intended for general information only and aims to inspire and guide readers on general glass projects. It is not a substitute for specialist guidance on specific projects. Glasswork, especially projects involving structural or intricate techniques, can present unique challenges and safety risks. Please consult a qualified glass specialist or professional for tailored advice and safety protocols if you are undertaking a specific or complex project.