One of the questions we get asked a lot here at Goldleaf Supplies, is the correct process for gilding metal. This post helps to give an idea of the correct way to do this.
The first thing you must remember is that there are two types of metal: Ferrous and non-ferrous. The first coat of paint is the most important, as that is what bonds to the surface. Although you can gild directly onto metal using nothing but size, this is not ideal, as different metals have different properties, and for a more professional finish, a full paint system should be applied.
Both metal types must have their own distinct primers applied, as they will not work correctly on the other type of metal.
The two primers are quick-drying metal primers: one for ferrous metals (which are prone to rust), and one special metals primer for copper, aluminium, and other non-rusting metals.
The quick drying metal primer for ferrous metal seals the surface of iron-containing metals, such as cast iron, wrought iron and types of steel. This thick primer prevents water from getting through to the surface and rusting the metal underneath.
Special metals primer is designed with the addition of acid. The acid lightly etches the surface of non-rusting metals, and when the paint dries, these microscopic ‘bite’ marks help hold the paint in place on the surface. Without this added benefit, paint can easily peel off these smooth metals.
So, what’s the correct process for gilding metal? The following is a photographic guide. In this example, cast iron (ferrous) is going to be gilded, but the same process can be applied to all metals, with their correct respective primers.
Step-by-Step Process for Gilding Metal
- PREPARE THE SURFACE
Before starting any projects, make sure the surface is clean, dry and free of dust and flaking paint. Remove any existing unsuitable surfaces with a wire brush, sandpaper or paint remover. Once prepared, clean the metal with a solvent and cloth prior to painting.

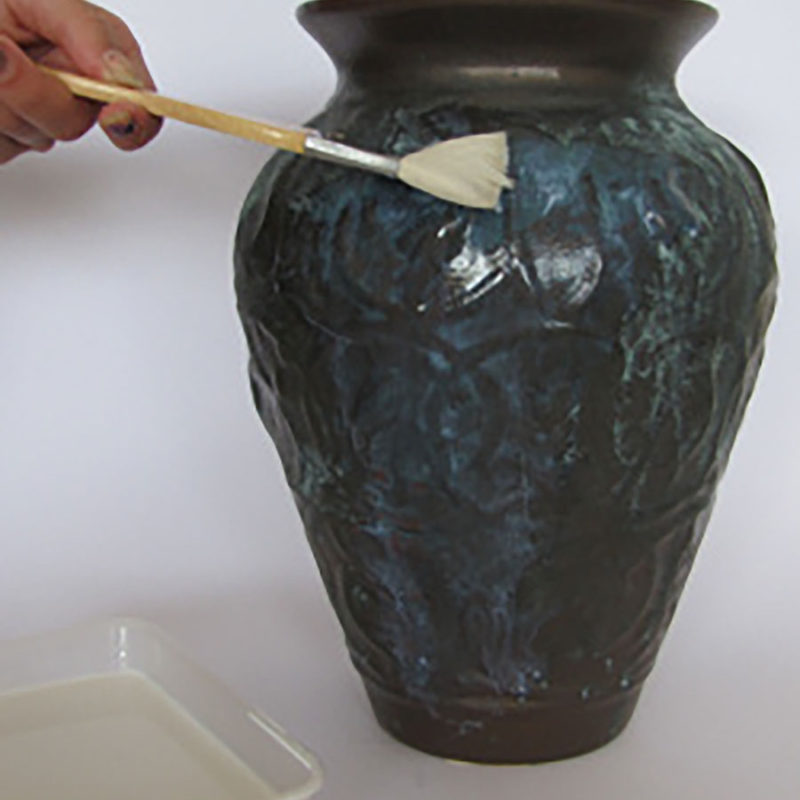
- PRIME THE SURFACE
Use the appropriate primer suitable for the substrate. Quick drying metal primers for ferrous metal will require the application of two coats and are available both as water and oil-based. Special metal primers, only require one coat and are usually only water-based. Apply the necessary amount using a quality brush. Be sure there are not tiny misses, especially in crevices, as this will create problems later.

- OPTIONAL COLOURED UNDERCOAT
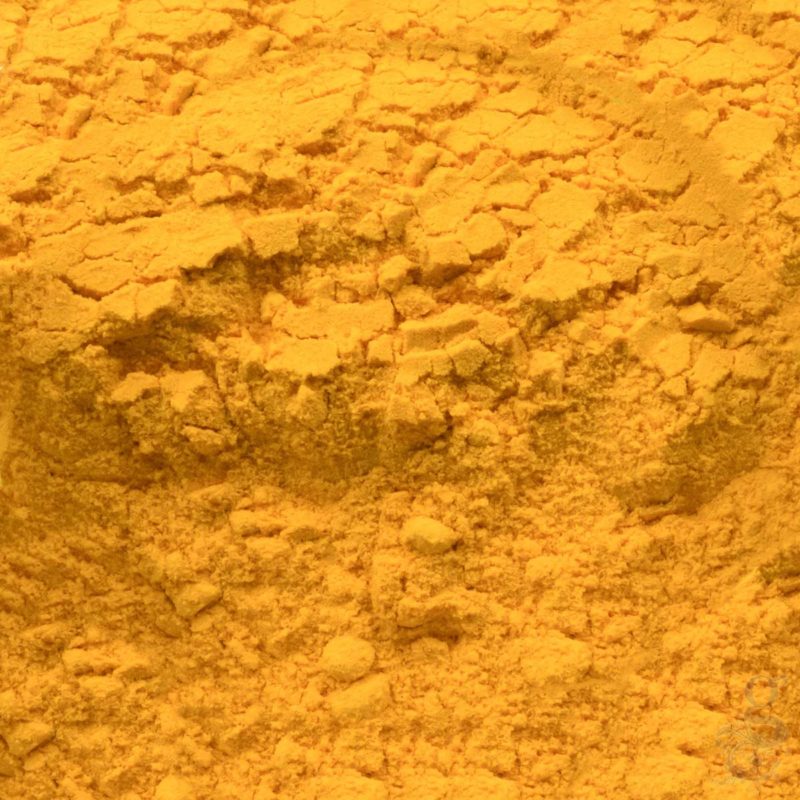
Once the primer is dry, you have the option of painting a coloured undercoat on the surface, to help show off the gilded finish. A yellow ochre coloured paint for instance, really helps to brighten the gilded finish and helps camouflage any tiny, microscopic holes in application. These can be water or oil-based, but you should always apply oil-based paints over previous oil layers, as water doesn’t paint well over oil-based. However, oil will paint well over water-based. Here two coats of paint have again been applied.

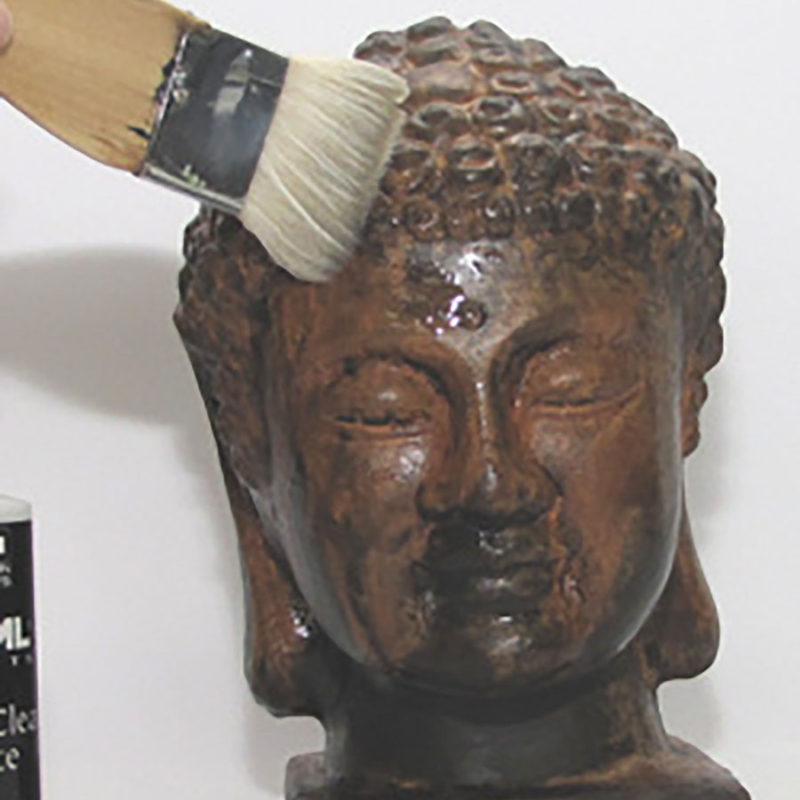
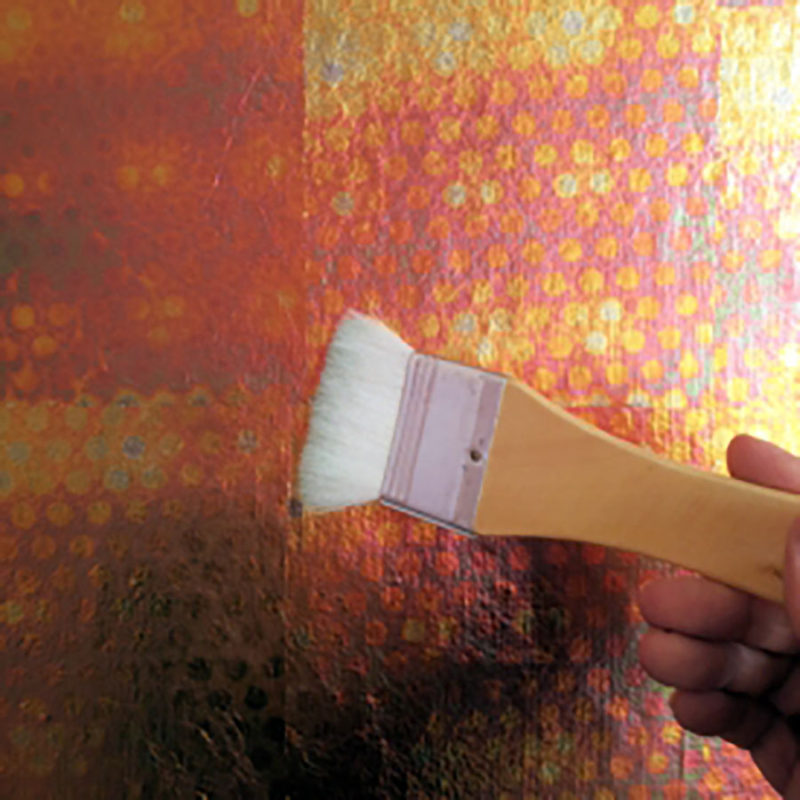
- APPLY OIL-BASED GOLD SIZE
Use an oil-based gold size in a drying time that fits the project. An excellent choice is a 3-hour size, which allows enough time to flow out flat and apply the leaf. Apply the oil-size in a thin even layer using a soft brush. Apply the leaf when the surface is slightly “tacky” not wet. This is usually after around 2.5 hours (with a 3-hour size) although temperature, wind and other conditions may reduce this. The Kolner size is usually a 4-hour window.

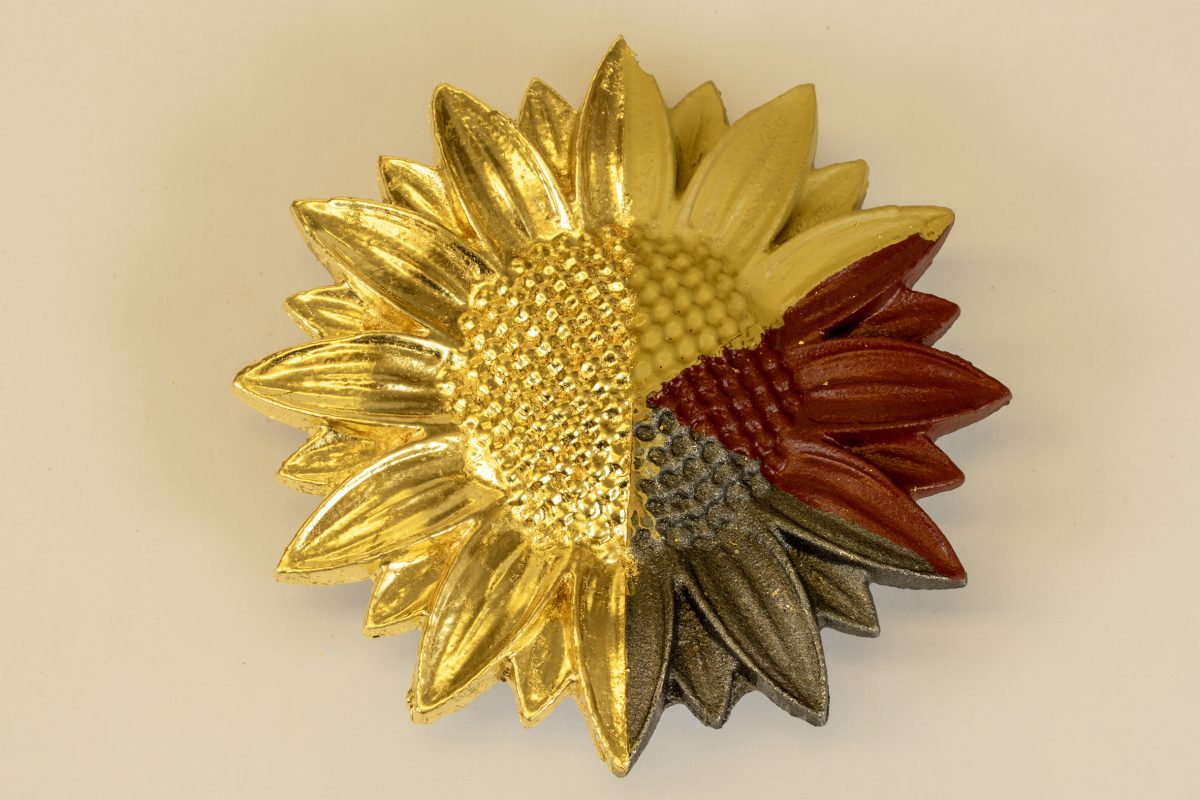
- USE THE CORRECT WEIGHT AND CARAT OF LEAF
Heavier weight leaves will offer longevity outdoors against the elements. Richard Walker recommends 23.75ct Platin Gold leaf 18g, a leaf designed for outdoors. Instead of the addition of silver, Platin leaf contains platinum, which will not degrade outside.
For genuine gold leaf 23.5ct is the minimum carat that we would recommend. Lower carats contain more alloys and are subject to tarnishing. Champagne/moon gold and platinum is appropriate for outdoors. For lower carat metals, the surface will need sealing once gilded.

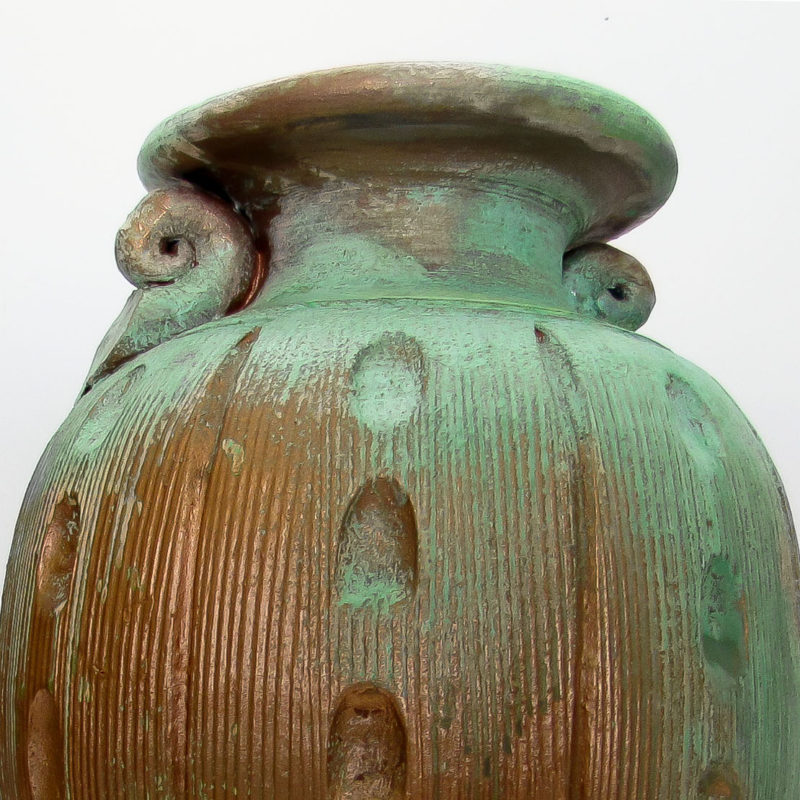
- VARNISH – YES or NO?
There is no need to varnish genuine gold leaf unless it will be in high traffic areas where it could get scratched. Applying varnish creates a liability because the varnish will end up degrading first, not the leaf. Although in some circumstances, varnishing may be needed, such as lower carat golds or if it will be regularly touched
Applied correctly genuine gold leaf could last for 40 years or more outdoors, depending on the thickness of the leaf, application method and other factors, although in areas of high corrosion such as seafronts, this can reduce drastically to 10 years. This example has not been varnished.

And that’s it, a nice easy step-by-step instruction in coating metal with gold leaf. Happy gilding!

Guest written by Richard Walker
@watergild_studios
www.watergild.com
Disclaimer: This blog post is intended for general information only and aims to inspire and guide readers on general glass projects. It is not a substitute for specialist guidance on specific projects. Glasswork, especially projects involving structural or intricate techniques, can present unique challenges and safety risks. Please consult a qualified glass specialist or professional for tailored advice and safety protocols if you are undertaking a specific or complex project.